On Saturday 14th September 2019 I spent a marvelous day at The Bristol Bike Project on their “Day 1” course. I had already had a three hour “bike basics” course a couple of months ago, but this was to be a more intensive 6 hours. Learning more complicated tasks, including a full bike health check, changing brake pads, cables, breaking and repairing chains and adjusting derailleurs.
“M” Check!
The first task was a thorough bike “M” check, so called as we follow the shape of an “M” through the frame, checking each component as we go; Wheels, Brakes, Headset, Handlebars and Levers, Drivetrain and Saddle/Seat post.
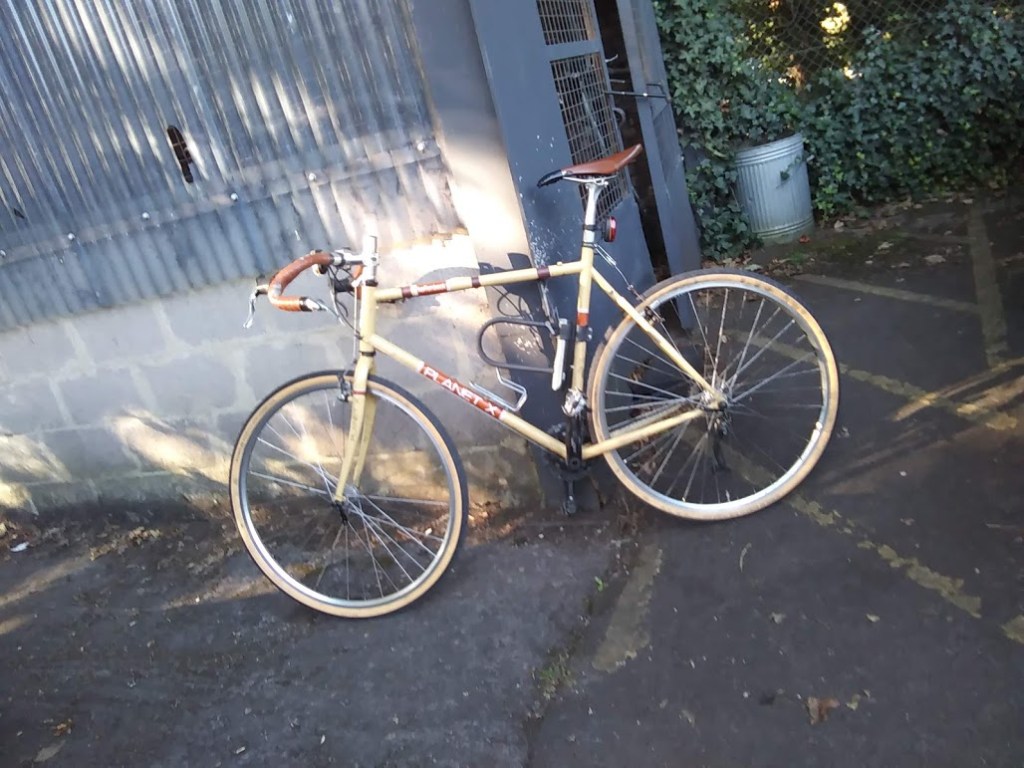
I picked up a few issues with my bike (at the Workshop you work on your own bike, the idea is that you get to know it intimately!):
- My rear wheel has some minor ‘play’, suggesting a loose bearing and is not quite true.
- I had some slight wear on my rim, but as my wheels are pretty chonky, nothing to worry about.
- My front tyre was very worn and I picked out lots of glass shards. Time to replace!
- My rear brake pad was slightly too low and was grabbing on the rim.
- My front brake has no barrel adjuster, my rear barrel adjuster is siezed.
- My shifter is either incompatible with my cassette or just broken and will not index properly, so only works in “friction” mode.
- My aluminium seat post has welded itself to the steel frame and doesn’t budge!
Brakes!
Luckily we were given a new set of brake pads, so the next task was to set about replacing those. I replaced my rear brake pads and made sure they were seated on the rim correctly.
Then we were given a new brake cable and if we were feeling brave enough, outer brake housing. I didn’t fancy unraveling my bar tape to replace the outer housing, so just changed the brake cable for my front brake. Learning lots about cables as we went. This was a great thing to learn to do.
Luncheon!
Then we took a break for lunch and I headed for Subway, covered as I was in a not insignificant amount of oil, grease and sweat. A delicious footlong was enjoyed and I returned for the afternoon session to learn about chains and derailleurs.
Derailleurs!
A derailleur looks like a complicated mess of screws, chains, wheels and pivots but is actually a quite simple contraption. A spring pulls the derailleur up the cogs, and the tension in your cable pulls it down. Two adjustable metal tabs prevent it from going too far in either direction.
We checked first for alignment (if your derailleur is misaligned, a special tool is required to brute force it back into alignment). Then threw our low tabs right out of whack to understand how they work and how to adjust. Finally, we used barrel adjusters in our shifter cables to adjust tension and get them shifting quickly through the cogs.
Chains!
We were given spare bikes and chains to practice this on. We were not asked to break our own chains!
The final exercise of the day was to use a chain tool to break and reconnect a chain link. Another task which is considerably easier than it looks. Using the tool to gently easy out one of the rivets, but not all the way, then twisting the chain off the end of the rivet to break the chain. Quite a satisfying process when done correctly. Then to reconnect the chain, we broke the rivet at the next link, popped the link into the rivet that was nearly removed and pushed it back into the chain link. A reconnected, repaired chain.
After practicing on a short piece of chain we were given old bikes with broken chains to repair. Initially I reconnected the chain successfully, but after routing it incorrectly through the derailleur. So I had to break it, sort out the routing then re-repair my chain. It’s difficult to remember how the chain works itself through the cogs in a derailleur!
Spending Spree!
The first priority after the workshop was to replace my well worn front tyre. I decided to replace both as I wanted a matching pair and I also wanted gumwall tyres. After learning about the strange world of bicycle tyre sizes, checking, double, triple checking that I was indeed buying the correctly sized tyres for my rims; I purchased 2x “Schwalbe Road Cruiser K-Guard Tyres” Gumwall 35c 700c for £39.98 from Wiggle.
The day they arrived, delivered as they were to work, I took them home to replace them. In order to get them home, I hooked them over my shoulder and under my arm and cycled home. Looking like a rider in a 1920’s Tour de France.
Excitedly I fitted them that night, replacing both front and rear tyres. I was happy to have new tyres but my grubby finger prints were now all over my smart gum wall tyres. Oh well.
Next I really needed to sort out my rear brake. A cantilever brake which was not working very well. The pivots where the brakes are attached to the frame were moving freely, but the cable didn’t seem to be running smoothly and was horribly frayed at the end. As was the straddle cable. The seat post cable hanger had a seized barrel adjuster. The brake cable housing was taped to my frame, rather than running through the frame mounts. I also had well worn bar tape and as I would be removing it to access the rear brake cable, it would be a good time to replace it.
I purchased more items from Wiggle in order to sort out my rear brake:
- Topeak Aero Wedge (Buckle) Medium Saddle Bag (to carry inner tubes, multi-tool and puncture repair kit on Long Rides)
- Park Tool High Performance Grease HPG-1 (just in case)
- Finish Line Absorb-It Mat (to protect the ground from bits and fluids)
- Birzman O-Ring Pick (to make the cable housing end free of metal after snipping and other handy uses)
- Cyclo Chain Wear Indicator
- Park Tool Professional Cable And Housing Cutter CN-10
- Topeak Mini 20 Pro 20 Function Multi Tool
- LifeLine Brake Cable Outer Casing
- Transfil Shimano Road Brake Cable Inner
- Transfil Pack Of 10 Anti-Fray Inner Cable End Caps
- Fizik Tempo MicroTex Classic Bar Tape
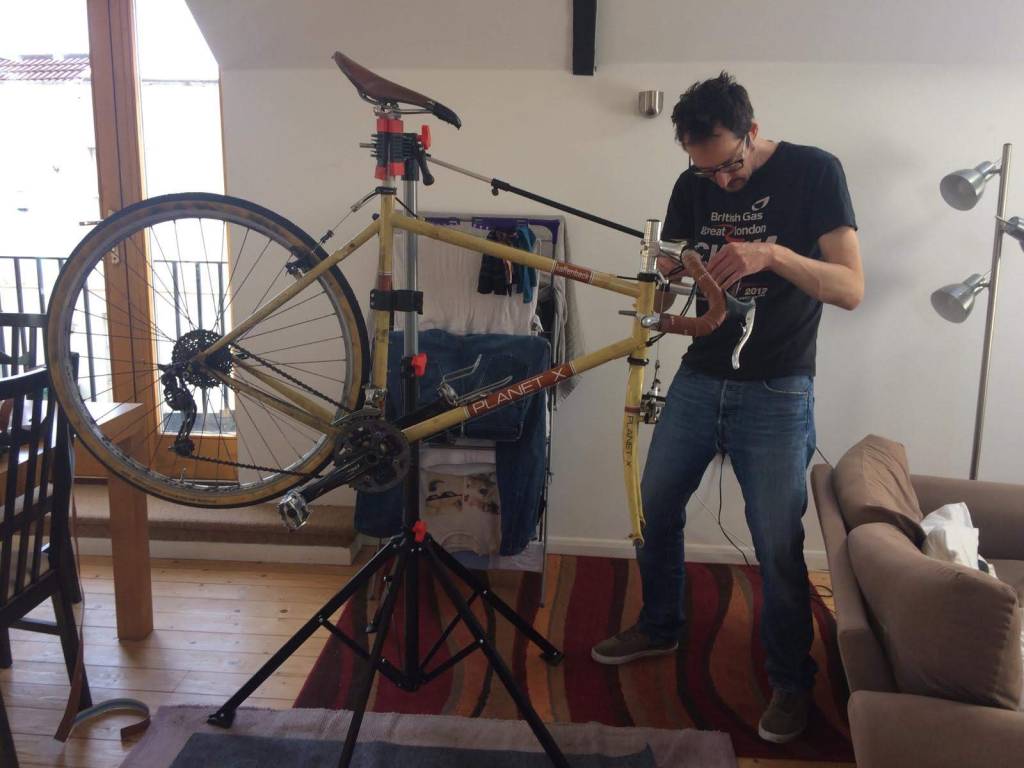
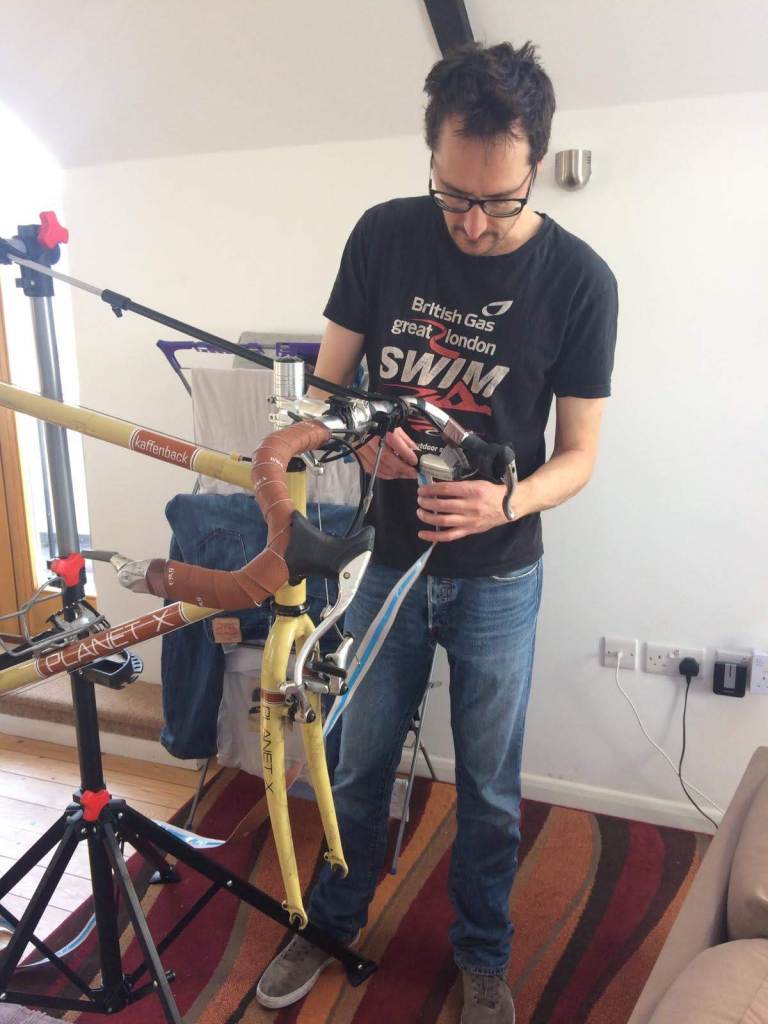
To start off, I put an old rug down, then laid the Finish Line Absorb-It Mat over the top. Then I setup my Aldi Bikemate Bike Repair Stand. I popped out the front wheel then carried my bike up to the lovely, bright, spacious work area I had created in the living room.
First off, I cut the old brake cable and unraveled the bar tape in order to access everything. Immediately I saw that the outer brake cable housing was split and the inner cable was not running smoothly.
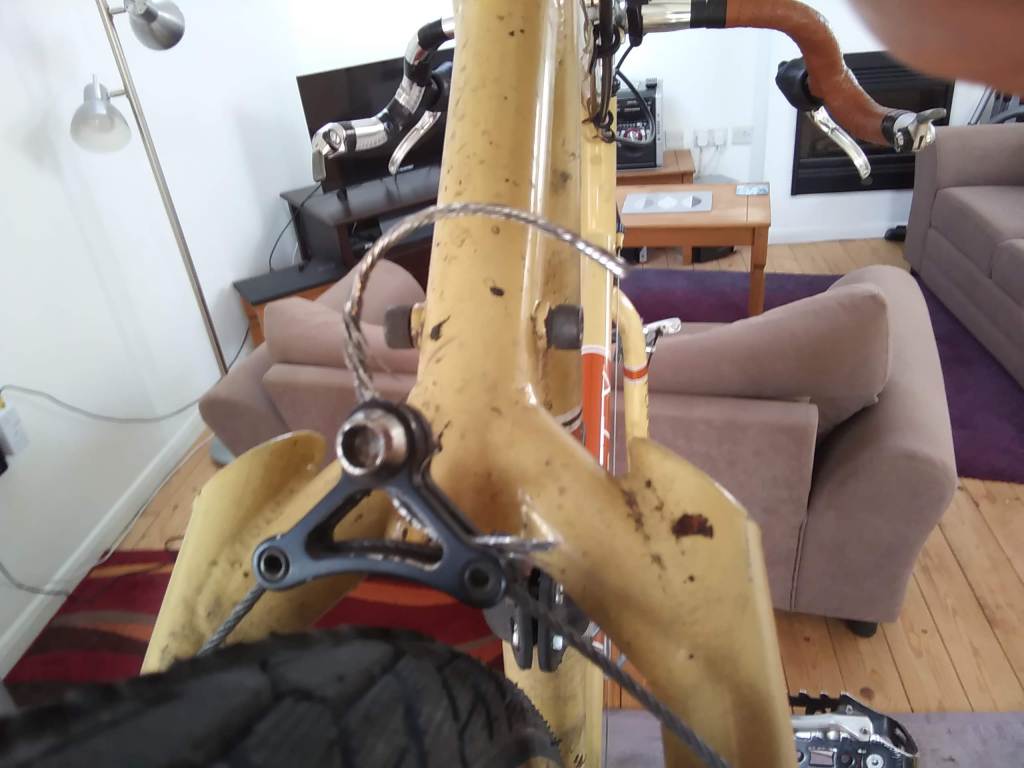
Once I had dismantled the brake cabling, it was a difficult job removing the frayed mess of old cable from the cantilever cable hanger. Then I attacked the seat post cable hanger with warm washing up liquid in order to free up the barrel adjuster.
Next, I cut and replaced the outer cable housing for the rear brakes. Making sure to leave slack for the handle bars to turn, picking a clean opening in the cut, then popping ferrules onto each end. Where before the cable housing ran along the entire length of my top tube and was held in place by electrical tape I now routed it through the built-in cable clips. Much neater.
Running the inner cable through my newly laid outer cable housing was straightforward and I cut and put an end on to prevent fraying.
Finally I wrapped up the bars with brand new Fizik Tempo MicroTex Classic Bar Tape. My first ever attempt was not good, but the second was better.
When I was done, I packed up my tools, popped the front wheel back in and tidied up the living room. Then a quick shower, tried washing the grime off my tyres then headed out for a well earned coffee and chedder cheese toasty in the sunshine.
